Hill stations and mountain destinations offer some of the most breathtaking natural backdrops you can find. Whether it’s mist rolling over green valleys, snow-covered peaks, or winding roads disappearing into the clouds, these landscapes naturally elevate your photos. However, simply standing in front of a beautiful view isn’t always enough to create a memorable picture. The way you pose, interact with the environment, and use the surroundings plays a major role in how your photos turn out.
Mountain photography is less about rigid posing and more about capturing a feeling—freedom, adventure, calmness, or wonder. With the right approach, even simple poses can look cinematic and visually striking. In this detailed guide, you’ll discover a variety of hill station and mountain photo poses, along with practical tips to help you make the most of your travel photography.
Mountains are grand and expansive, which means they can easily overpower the subject in a photo. Without proper posing, you may appear too small or disconnected from the scene. A well-thought-out pose helps create balance between you and the background, ensuring that both elements complement each other.
A good pose does more than improve aesthetics—it tells a story. Whether you’re gazing at the horizon, walking along a trail, or enjoying a quiet moment, your pose can convey emotion and make your photos more engaging.
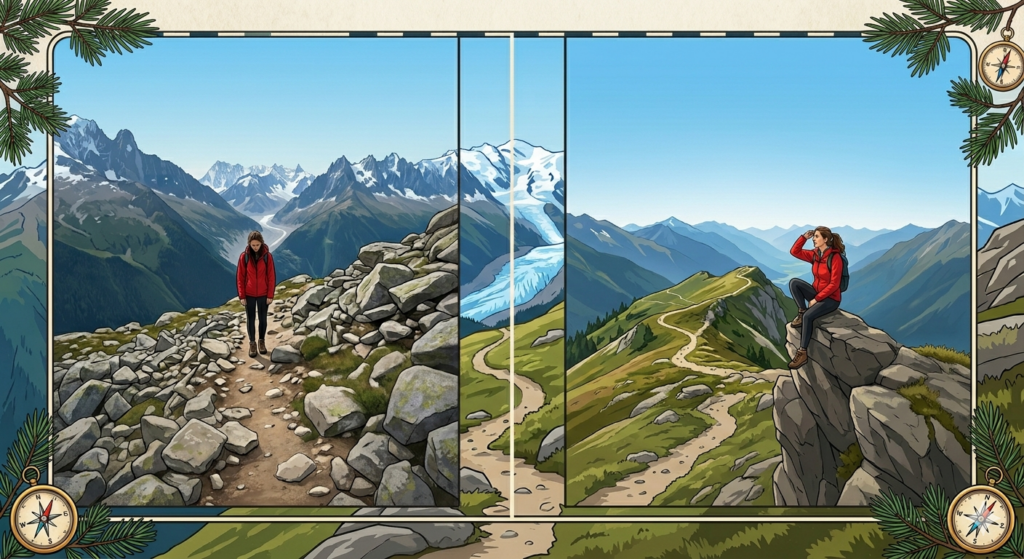
One of the most iconic hill station and mountain poses is standing with your back to the camera while looking at the view.
This pose draws attention to the landscape while making the viewer feel like they are experiencing the view with you.
Walking shots create a candid and effortless vibe that works perfectly in mountain settings.
Take multiple shots in burst mode to capture the most natural frame.
This pose creates a thoughtful and cinematic effect.
This pose works beautifully during sunrise or sunset when the lighting is soft.
Sitting poses add depth and a sense of scale to your photos.
Always prioritize safety—avoid unstable edges or risky cliffs.

A simple yet stylish pose that works in almost any setting.
It creates a natural and confident look without feeling posed.
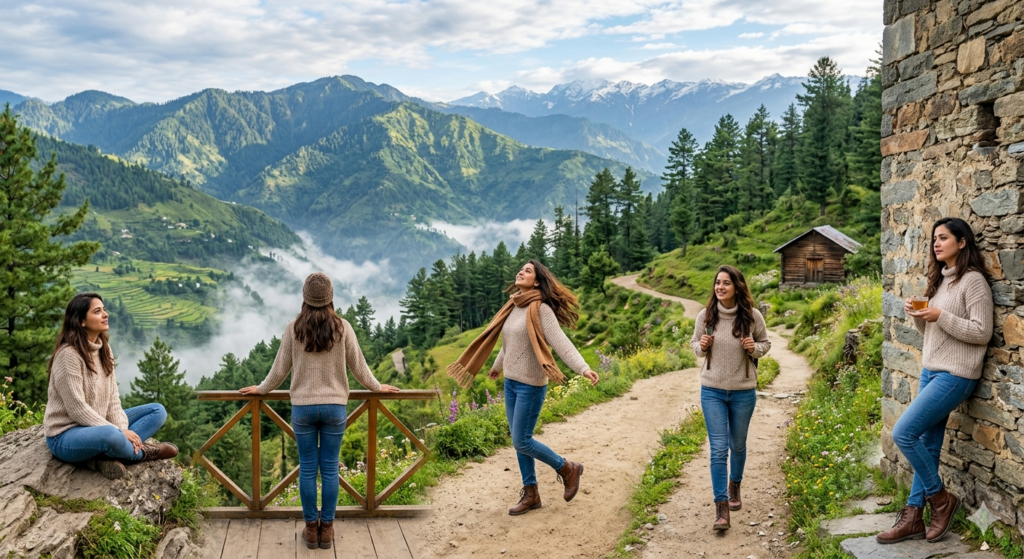
Adding movement can make your photos more dynamic.
These small actions create candid moments that look visually appealing.
For a fun and energetic vibe, jump shots are a great option.
It may take several attempts, so be patient and keep trying.
Props can enhance your photos and make them more relatable.
Hold props naturally rather than forcing them into the frame. The goal is to make them part of your experience, not just an accessory.
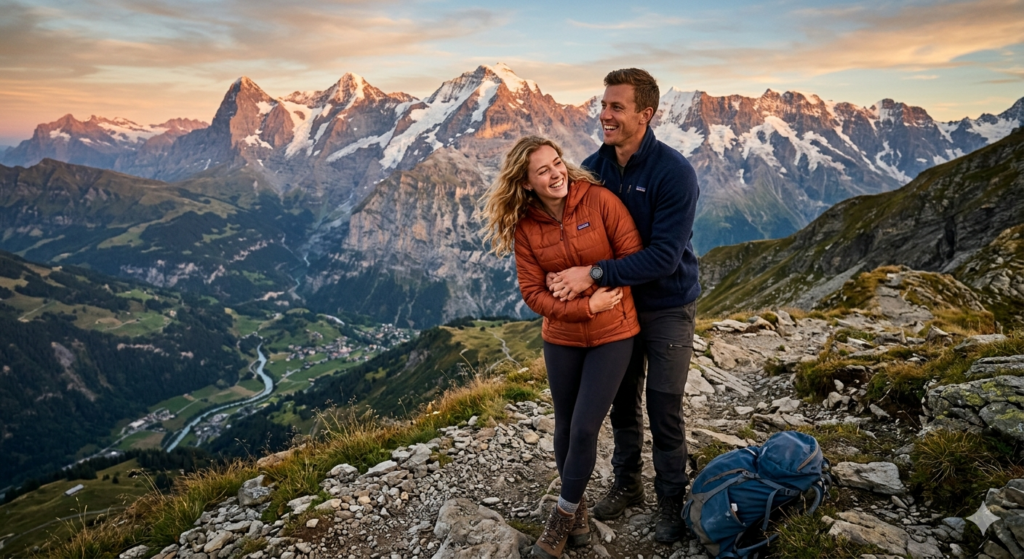
Mountain destinations are perfect for romantic and candid couple photography.
This creates a genuine and intimate feel.
It captures authentic emotions and connection.
Sunrise or sunset moments
Silhouettes create dramatic and visually striking images.
Traveling with friends? Group photos can be just as creative.
Walk in a line along a road or trail while the camera captures movement. This creates a cinematic and coordinated look.
Instead of posing stiffly, interact with each other—talk, laugh, or joke around. These moments often result in the best photos.
Sit on rocks or benches with a scenic background. Keep the arrangement natural rather than overly structured.
The golden hour—shortly after sunrise or before sunset—is ideal for silhouette photography.
Backlighting creates a soft glow around your subject.

While wide shots capture the landscape, close-ups highlight emotions and details.
These shots add variety to your photo collection.
Avoid blending into the background. For example:
Layered clothing not only keeps you warm but also adds texture and depth to your photos.
Lighting can make or break your photos. Early mornings and late afternoons provide the best natural light.
Incorporate elements like fog, wind, or snow to add character to your shots.
Avoid overthinking poses. The best mountain photos often come from simple, natural movements.
Try different perspectives—low angles, wide shots, or close-ups—to add variety.
Too much posing can make photos look unnatural. Keep it relaxed and simple.
Always check what’s behind you. A cluttered background can distract from the main subject.
Harsh lighting during midday can reduce the quality of your photos. Plan your shoots accordingly.
Hill stations and mountain destinations provide endless opportunities for stunning photography. With the right poses, thoughtful composition, and a bit of creativity, you can turn ordinary moments into extraordinary memories.
The key is to stay natural, embrace the environment, and experiment with different styles. Whether you’re capturing peaceful solo moments, romantic couple shots, or fun group memories, the mountains offer the perfect canvas.
Next time you find yourself surrounded by scenic views and fresh mountain air, you’ll not only enjoy the moment—but also capture it beautifully.